Syncing Notes
Before diving in, make sure you’ve got a cloud provider installed on your PC—something like Dropbox, OneDrive, or iCloud will do the trick. If you don’t already have one, just search for “[Your Cloud Provider Name] + [Your Operating System]” on Google to get started. Alternatively, you can check out services like Syncthing or even set up your own server if that’s an option for you.
To sync your notes across devices, choose a folder on your PC where your notes will be stored. This folder needs to be within a cloud provider or syncing service, like iCloud, OneDrive, or Syncthing. Once you’ve got that set, you can enable autosync by navigating to Settings > General > Auto Sync.
If you’d prefer not to enable autosync, you can use the sync reminder feature instead. This will prompt you to sync manually, and you can do so using the two buttons available the bottom left corner of the sidebar.
Note for Linux users: If you’re using GVFS, autosync won’t work due to its limitations. Instead, we recommend using other tools like Celeste, Nextcloud Client, or a similar service.
Set Up Sync
To set up syncing for your notes:
- Go to Settings > General > Sync Path > Select Path.
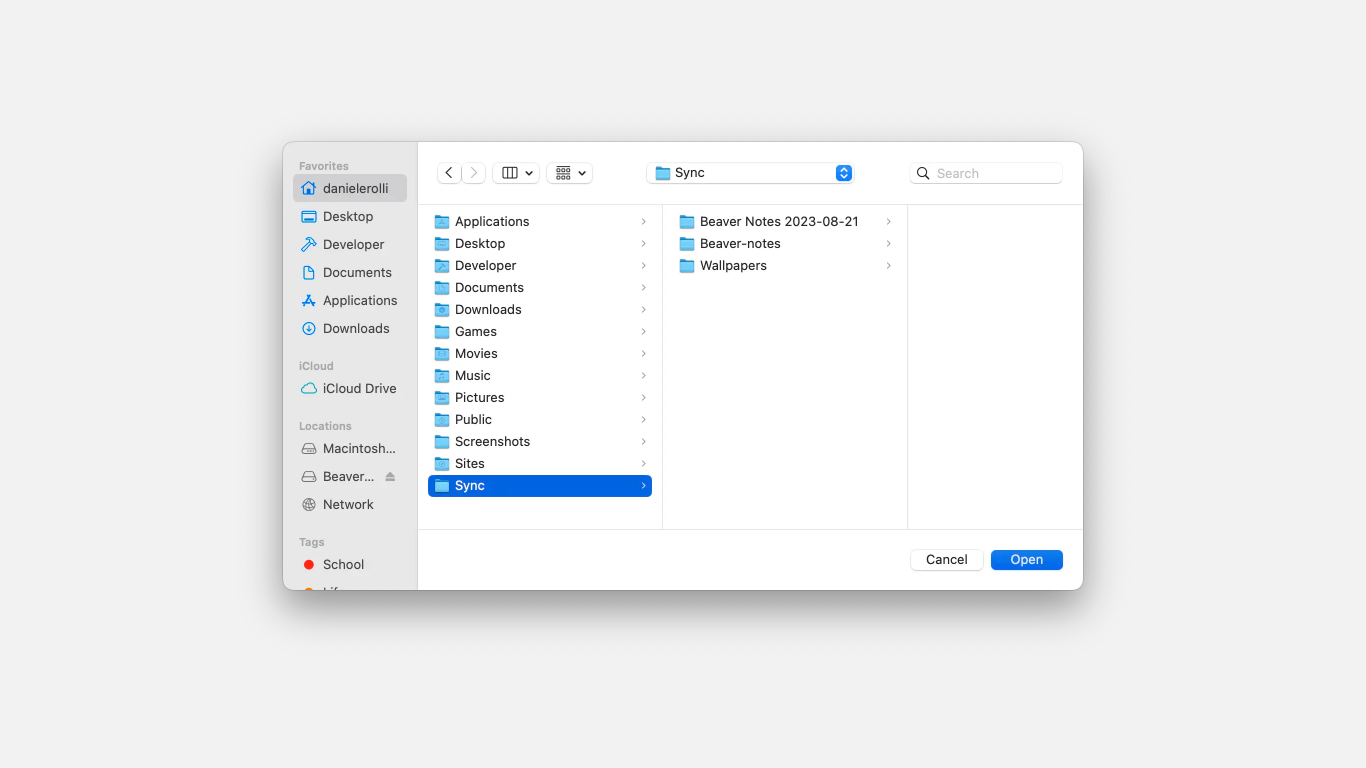
- When the file manager pops up, pick the folder you’d like to use for syncing your notes.
- Once you’ve selected the folder, enable autosync by checking the Auto Sync option in the same Sync Path menu.