Contributing to the Blog
Beaver’s Blog, like the docs, is built with Jekyll (a static site generator). You don’t need to be a developer or a designer to contribute, just a willingness to share ideas!
⚡ Quick Start (TL;DR)
- Fork Beaver Blog on GitHub.
- Create a new branch for your post.
- Add a file in
_posts/YYYY/calledYYYY-MM-DD-title.md. - Write your post + add artwork (simple or detailed).
- Open a Pull Request 🚀.
If you prefer not to install anything, skip setup and use GitHub Codespaces.
💡 Not ready to write posts? You can still help by proofreading and suggesting edits
🖥️ Contributing Using Your Computer
Before starting, you’ll need to install a couple of packages. Check out the Jekyll docs and return when you’re ready. You’ll also need a GitHub account. If you don’t have one yet, you can create one by following this guide: Creating an account on GitHub. Once you’re ready, you can begin by forking the repository.
1. Fork the Repository
- Navigate to the Beaver Blog repository: Beaver Blog on GitHub.
- Click the Fork button in the upper-right corner to create a copy of the repository under your own GitHub account.

2. Clone Your Fork
Clone your forked repository to your local machine:
git clone https://github.com/your-username/Beaver-Blog.git
cd Beaver-Blog
3. Set the Upstream Remote
Add the original repository as the upstream remote. This will help keep your fork up-to-date with the original repository:
git remote add upstream https://github.com/Beaver-Notes/Beaver-Blog.git
4. Create a New Branch
Create a new branch in your fork for making changes:
git checkout -b amazing-new-feature
5. Create a Post
- Locate the
_postsdirectory. Inside, you’ll find some folders labeled by year; locate the current year. - Create a file named
YYYY-MM-DD-untitled.md(replaceYYYY-MM-DDwith the current date anduntitledwith the title of your post). - Paste the following text into your file:
---
layout: post
title: Untitled
date: 2025-01-05
author: Daniele Rolli
label:
- Example
image: assets/img/2025/2025-01-05.png
excerpt_separator: <!--more-->
---
Every post should include an artwork image. It can be simple (like an icon with a shadow) or more detailed, whatever you’re comfortable with. Feel free to ask for help if needed. You can use any tool (e.g. Figma or Gimp). Save the file in assets/img/YYYY as YYYY-MM-DD.png.
Here are two examples from current articles:
 Easy artwork example
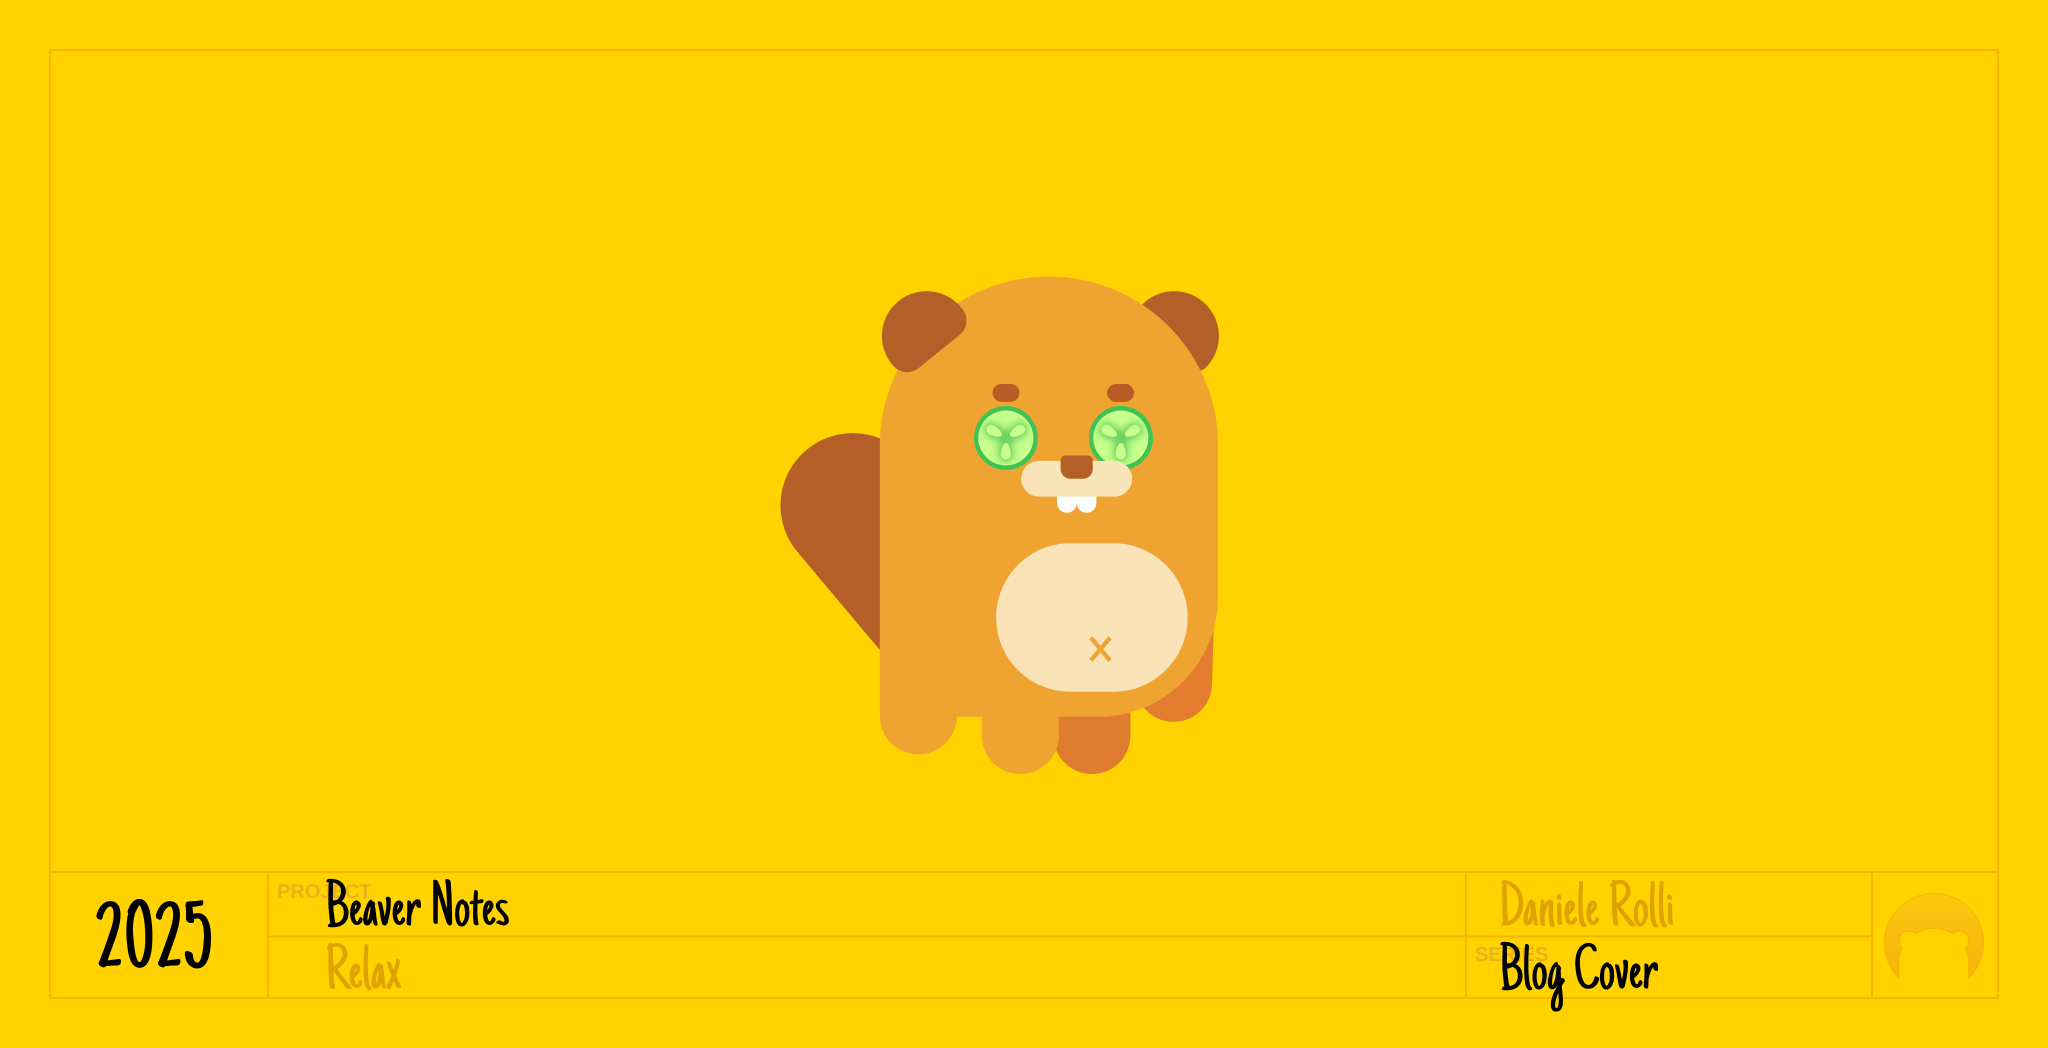 Complex artwork example
Adding Images
If your page requires images other than the artwork:
- Create a new folder under
assets/img/YYYYnamed after your page (e.g.,assets/img/YYYY/YYYY-MM-DD-title). - Place your images in that folder.
-
Use the following format for image URLs in your Markdown file:

Install Dependencies and Run Live Reload
To set up Jekyll and enable live reload during development:
-
Install Jekyll and Bundler if not already installed:
gem install jekyll bundler -
Install project dependencies:
bundle install -
Run the Jekyll server with live reload enabled:
bundle exec jekyll serve --livereload -
Access the development site at:
http://localhost:4000
6. Stage and Commit Changes
Add your changes to the staging area and commit them with a descriptive message:
git add .
git commit -m "Describe the changes"
7. Push Your Changes
Push your branch to your forked repository:
git push origin amazing-new-feature
8. Submit a Pull Request
- Go to your forked repository on GitHub.
- Click Compare & pull request.
- Ensure you’re submitting your pull request to the original repository’s main branch (or the appropriate branch).
- Add a descriptive title and explanation of your changes, then submit the pull request.
Keeping Your Fork Updated
To actively contribute to the documentation, regularly update your fork with changes from the original repository. Run the following commands:
git fetch upstream
git checkout main
git merge upstream/main
git push origin main
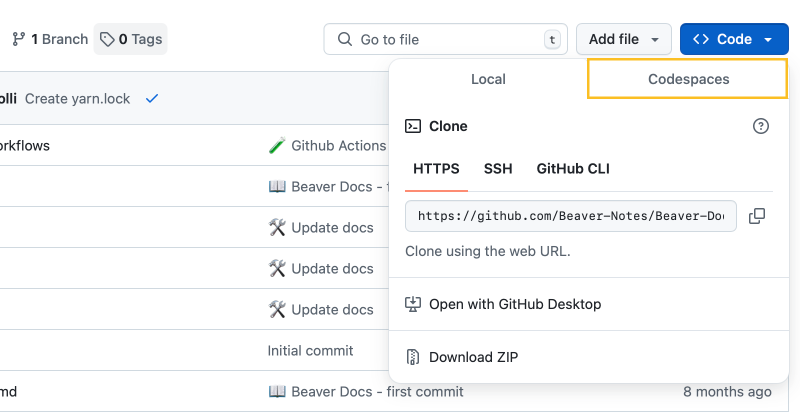
☁️ Using GitHub Codespaces to Contribute
1. Fork the Repository
- Navigate to the Beaver Blog repository: Beaver Blog on GitHub.
- Click the Fork button in the upper-right corner to create a copy of the repository under your own GitHub account.

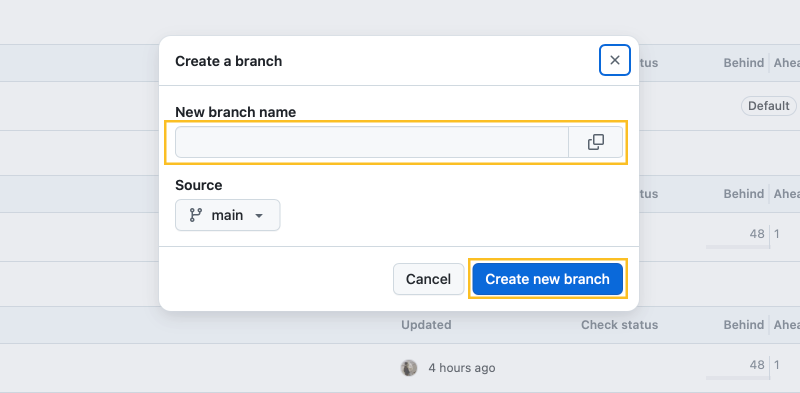
2. Create a New Branch
Create a new branch in your fork to make changes:
- Click the main branch button in the upper-left corner, then select View all branches.
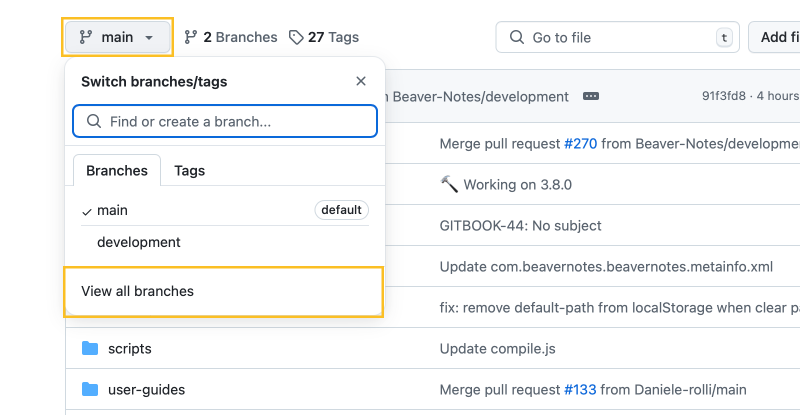
- In the upper-right corner, click the New branch button. Enter a branch name, such as “math-block-page,” then click Create new branch.

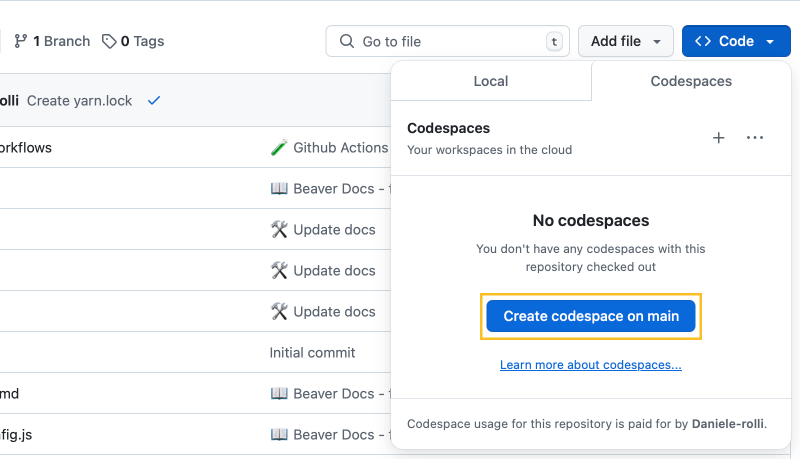
3. Create a Codespace
After creating your branch, select it by:
- Clicking the main branch button in the upper-left corner, then selecting View all branches and choosing your branch.
- In the upper-right corner, click Code > Codespaces > Create codespace on [branch name].